
First thing first is to sign up for the Firebase. Firebase is made by Google and have many functionality , as example real-time database, login, storage etc.
https://firebase.google.com/
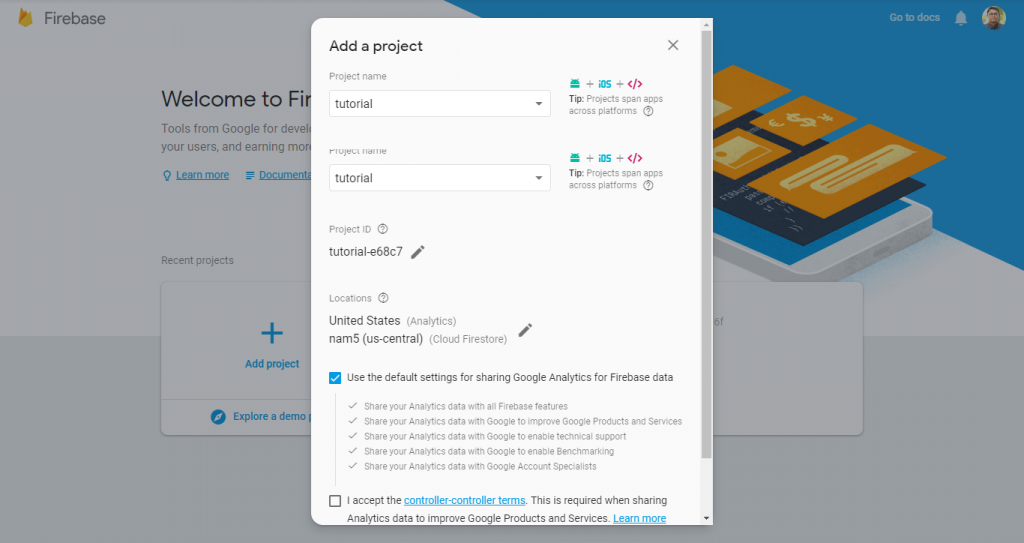
Once you sign up you now able to login. Add project and fill up the details
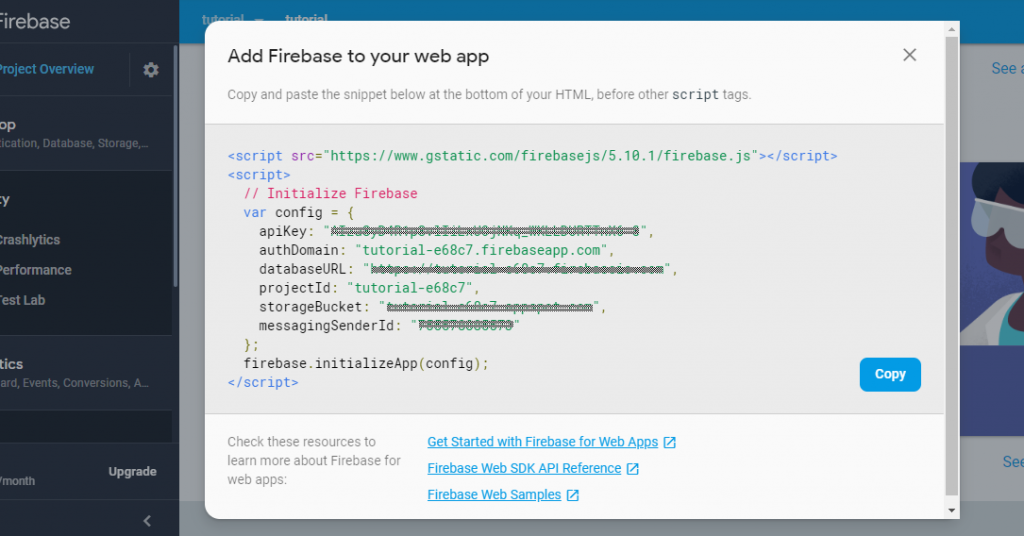
Create you HTML file and in the head section put the code that the Firebase generated
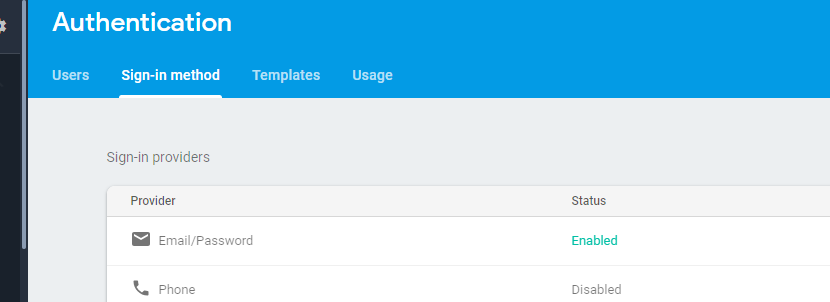
Then, to enable the login functionality that we can use for this project, go to Authentication menu and Sign in Method tabs. Enable the Email/Password.
In the body section you can use the code below to play around
<body>
<h1>Welcome to My Awesome App</h1>
<div id="firebaseui-auth-container"></div>
<div id="ld">


</div>
<a href="#" onclick="logout()">Logout</a>
<div id="posts">

</div>
<script
src="https://code.jquery.com/jquery-2.2.4.min.js"
integrity="sha256-BbhdlvQf/xTY9gja0Dq3HiwQF8LaCRTXxZKRutelT44="
crossorigin="anonymous"></script>
<script type="text/javascript">
var request = window.indexedDB.open("firebaseLocalStorage", 3);
console.log(request);
document.getElementById("ld").innerHTML = '<input type="text" name="body" value="" id="body">'+
'<input type="submit" name="" value="Submit" id="submit">';
getAllPost();
$("#submit").click(function(){
var userid = firebase.auth().currentUser.uid;
var body = $("#body").val();
writeNewPost(userid, body);
getAllPost();
});
var ui = new firebaseui.auth.AuthUI(firebase.auth());
ui.start('#firebaseui-auth-container', {
signInOptions: [
{
provider: firebase.auth.EmailAuthProvider.PROVIDER_ID,
signInMethod: firebase.auth.EmailAuthProvider.EMAIL_LINK_SIGN_IN_METHOD,
forceSameDevice: false,
emailLinkSignIn: function() {
return {
url: window.location.href
};
}
}
]
});
if (firebase.auth().isSignInWithEmailLink(window.location.href)) {
var email = window.localStorage.getItem('emailForSignIn');
if (!email) {
email = window.prompt('Please provide your email for confirmation');
}
firebase.auth().signInWithEmailLink(email, window.location.href)
.then(function(result) {
window.localStorage.removeItem('emailForSignIn');
})
.catch(function(error) {
});
}


// Write Post //
function writeNewPost(uid, body) {
var postData = {
uid: uid,
body: body
};
var newPostKey = firebase.database().ref().child('posts').push().key;
var updates = {};
updates['/posts/' + newPostKey] = postData;
return firebase.database().ref().update(updates);
}

// Get All Post //
function getAllPost(){
var playersRef = firebase.database().ref("posts/");
var p = '';
playersRef.on("child_added", function(data, prevChildKey) {
var newPlayer = data.val();
console.log("body: " + newPlayer.body);
p += '<p>' + newPlayer.body + '</p>';
document.getElementById("posts").innerHTML = p;
});
}

//Logout

function logout(){
firebase.auth().signOut()
.then(function() {
alert("Success Logout");
})
.catch(function(error) {
// An error happened
});
}

</script>
</body>
Make sure to create your real-time database and insert the rules as below. The rules allow only authenticated person can read and write.
{
 "rules": {
  ".read": "auth != null",
  ".write": "auth != null"
 }
}
To play around you can check this example: https://portfolio.adisazizan.xyz/wp-content/uploads/2019/04/firebase-tutorial.html
Note: Make sure you whitelist the domain Firebase console.
